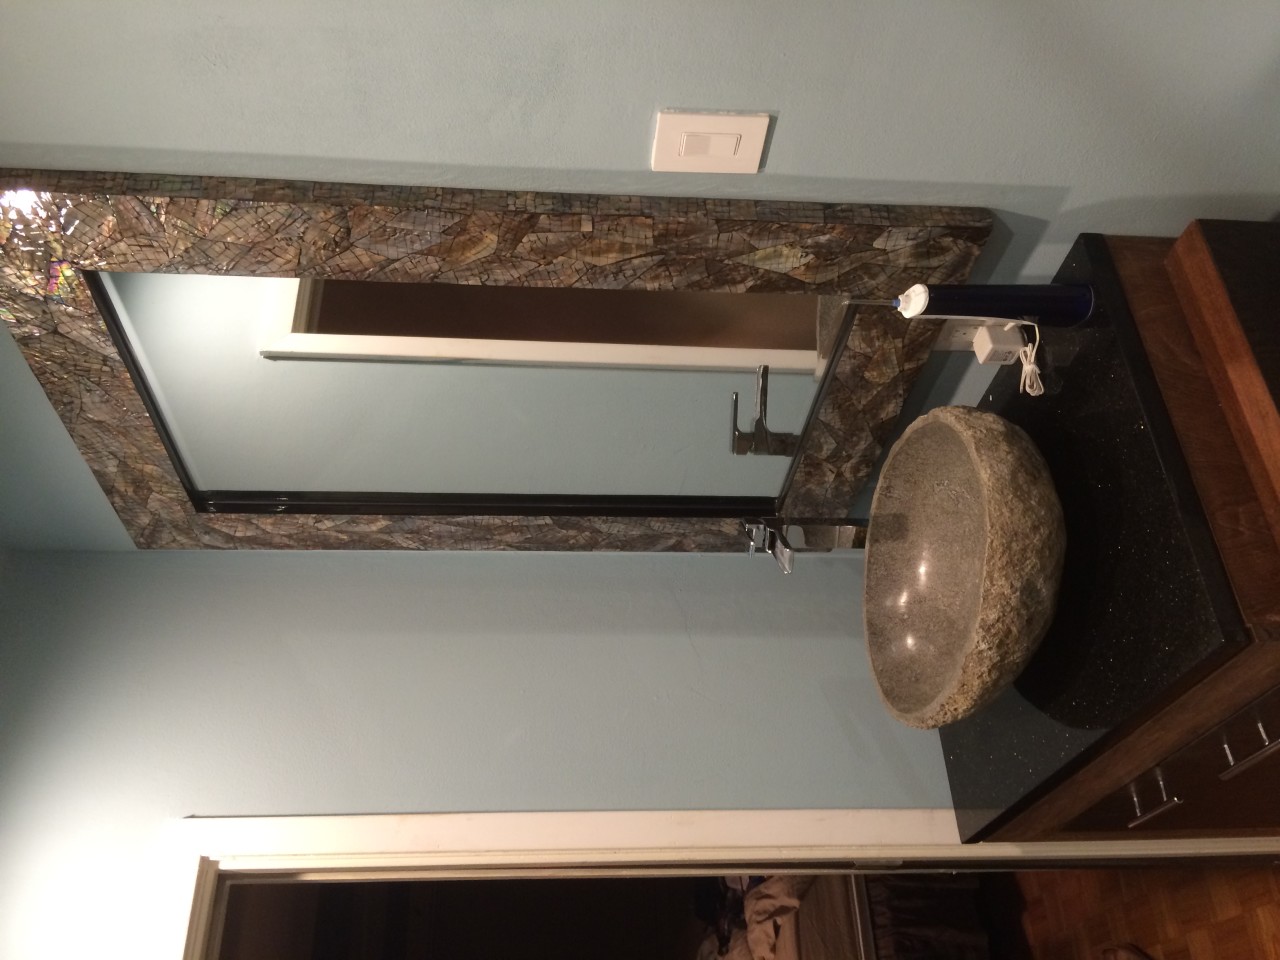
Relocation is always an open invitation to do some remodeling work. My relocation to Shreveport was no exception. So after unpacking a few boxes and locating my sledge hammer, I began remodeling my master bathroom. I never understood why anyone would actually LOWER a ceiling above a shower stall. At only 5’8″ I’m not considered tall by anyone over the age of 12. But this shower was simply awful, with only 6 feet of vertical space and no lighting whatsoever. Add to that the fact that it was all done in dingy white ceramic tile. Sounding ugly enough yet? It gets better.
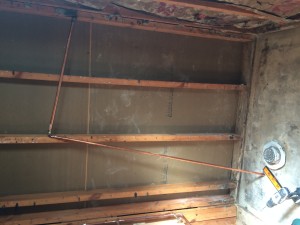
The tile didn’t stop at the shower door. In fact it continued throughout the rest of the bathroom even running up the walls to a height of about 4 feet. That’s ok though because my sledge hammer didn’t stop until it got to the sliding pocket door at the bathroom entrance. This is what it looked like on demolition day:
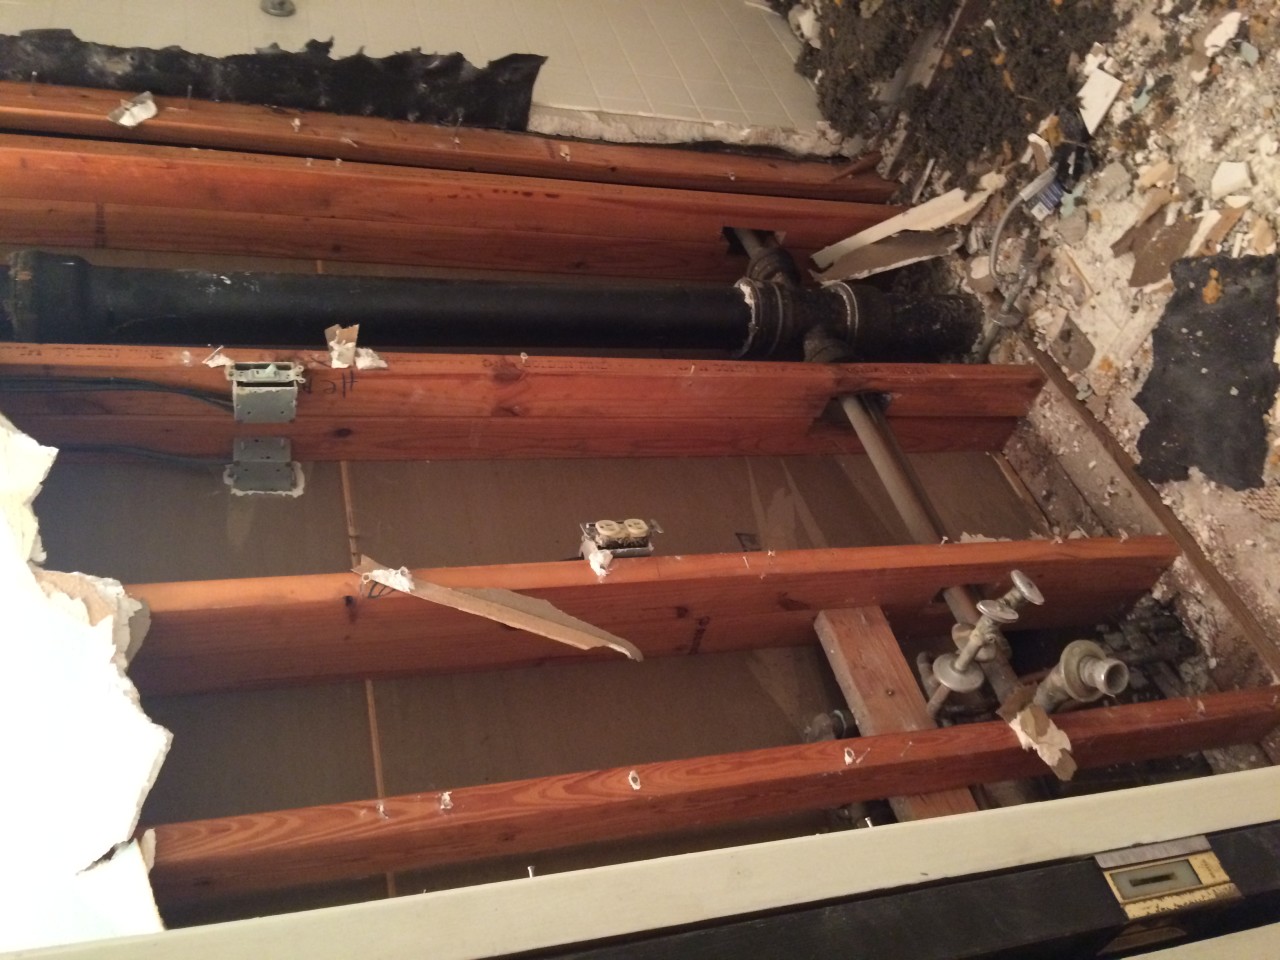
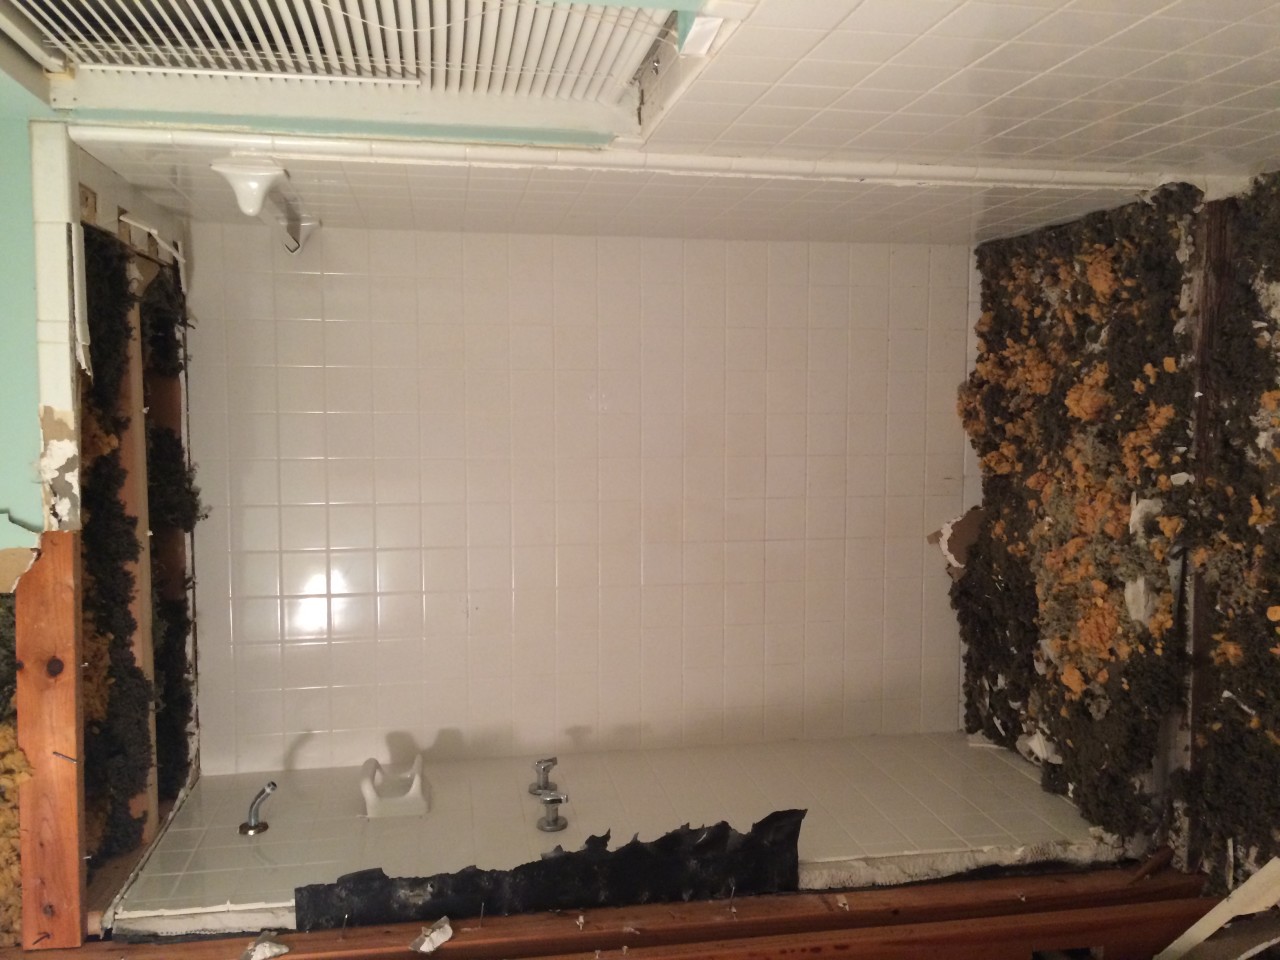
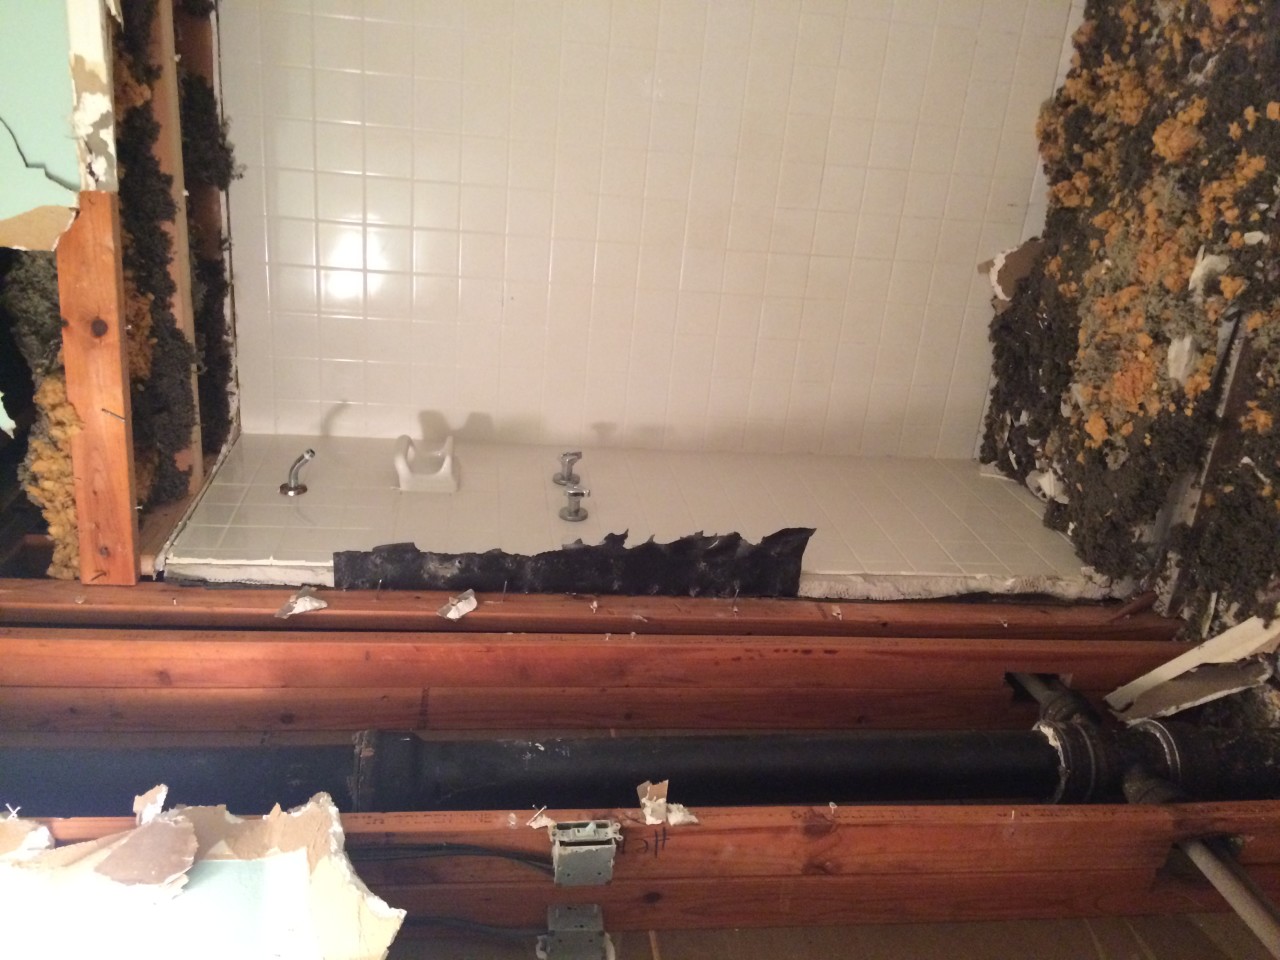 If you’re getting the idea that it was a “take no prisoners” battle, you’re on the right track. Don’t let me give you the wrong impression though. I loved the 80’s! …except for the bathrooms. Thankfully “bathing technology” has now caught up in terms of design and functionality. In the end, all of the white tile was removed along with the sheetrock, leaving only cement, wall studs and plumbing…a virtual blank canvas.
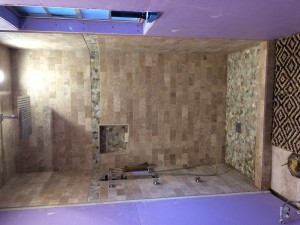
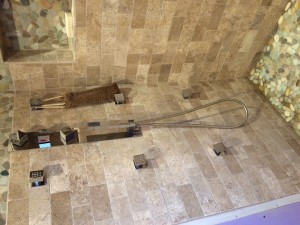
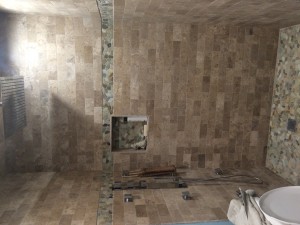
First on my list was raising the ceiling on the shower, followed by plumbing for new shower fixtures. I added a 16″ rain head dropping out of the ceiling, 6 body spray jets, a temperature controlled ceramic valve assembly, and a handheld massage spray wand. All of that took some serious re-plumbing effort. But after putting a testing gauge on both hot and cold water supply lines, I knew everything should work nicely with plenty of water pressure.
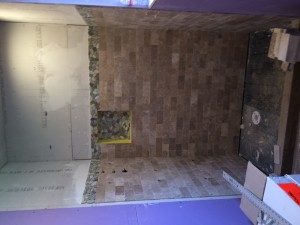
Chase at United Tile provided the stone. And Derrick Wilson, a local tile setter, did some amazing work to bring it all together. If you’re looking for a tile guy, I will be happy to furnish Derrick’s contact info via email. Here are some photos of the shower during and post reconstruction:
…which brings us to the Timber Craft point of this story.
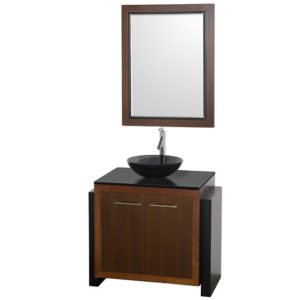
While using SketchUp to validate the bathroom design, I ran across an icon of the perfect bathroom vanity to finish off this project.
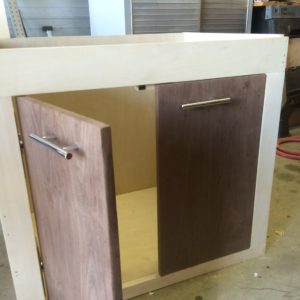
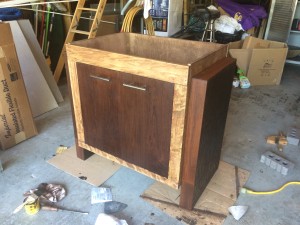
After doing some research I discovered that the only way to obtain that particular vanity involved ordering at least 5 of them at a time. If that wasn’t problematic enough, I also discovered that it was a bit larger than expected. So I decided to build one in the size needed for my project. Pictured below is the Timber Craft vanity during and after construction:
The doors were created using “Nogal” wood, aka “Peruvian Walnut”. Nogal is only harvested once a year. It is a rare and quite expensive ($17 per board foot) exotic wood. I managed to make both of the cabinet doors from a single 1″x6″x8′ plank. The side mounted “legs” were trimmed with Teak, a wood that retains it’s satin-like finish due to it’s own natural oil content.
The vessel sink was a particularly great find, obtained from a local surplus building materials wholesaler. The mirror was special ordered from Pier-1’s mother-of-pearl collection.
In hindsight, I probably went overboard on the bathroom project. But somehow I can’t imagine having done it any other way.
